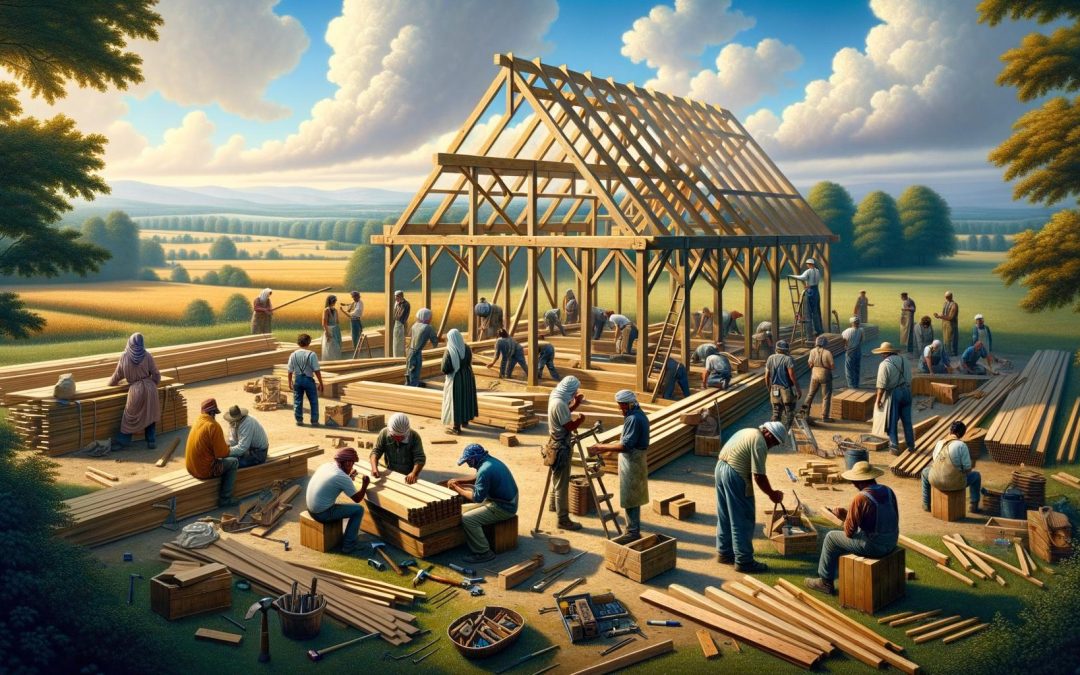
Building trusses for pole barns is a critical step in constructing a durable and long-lasting structure. At Outbuilders, we’ve seen firsthand how well-designed trusses can make or break a pole barn project.
This guide will walk you through the essentials of truss construction, from understanding different types to the step-by-step process of building and installing them. Whether you’re a DIY enthusiast or a professional builder, you’ll find valuable insights to ensure your pole barn stands strong for years to come.
What Are Pole Barn Trusses?
The Anatomy of a Pole Barn Truss
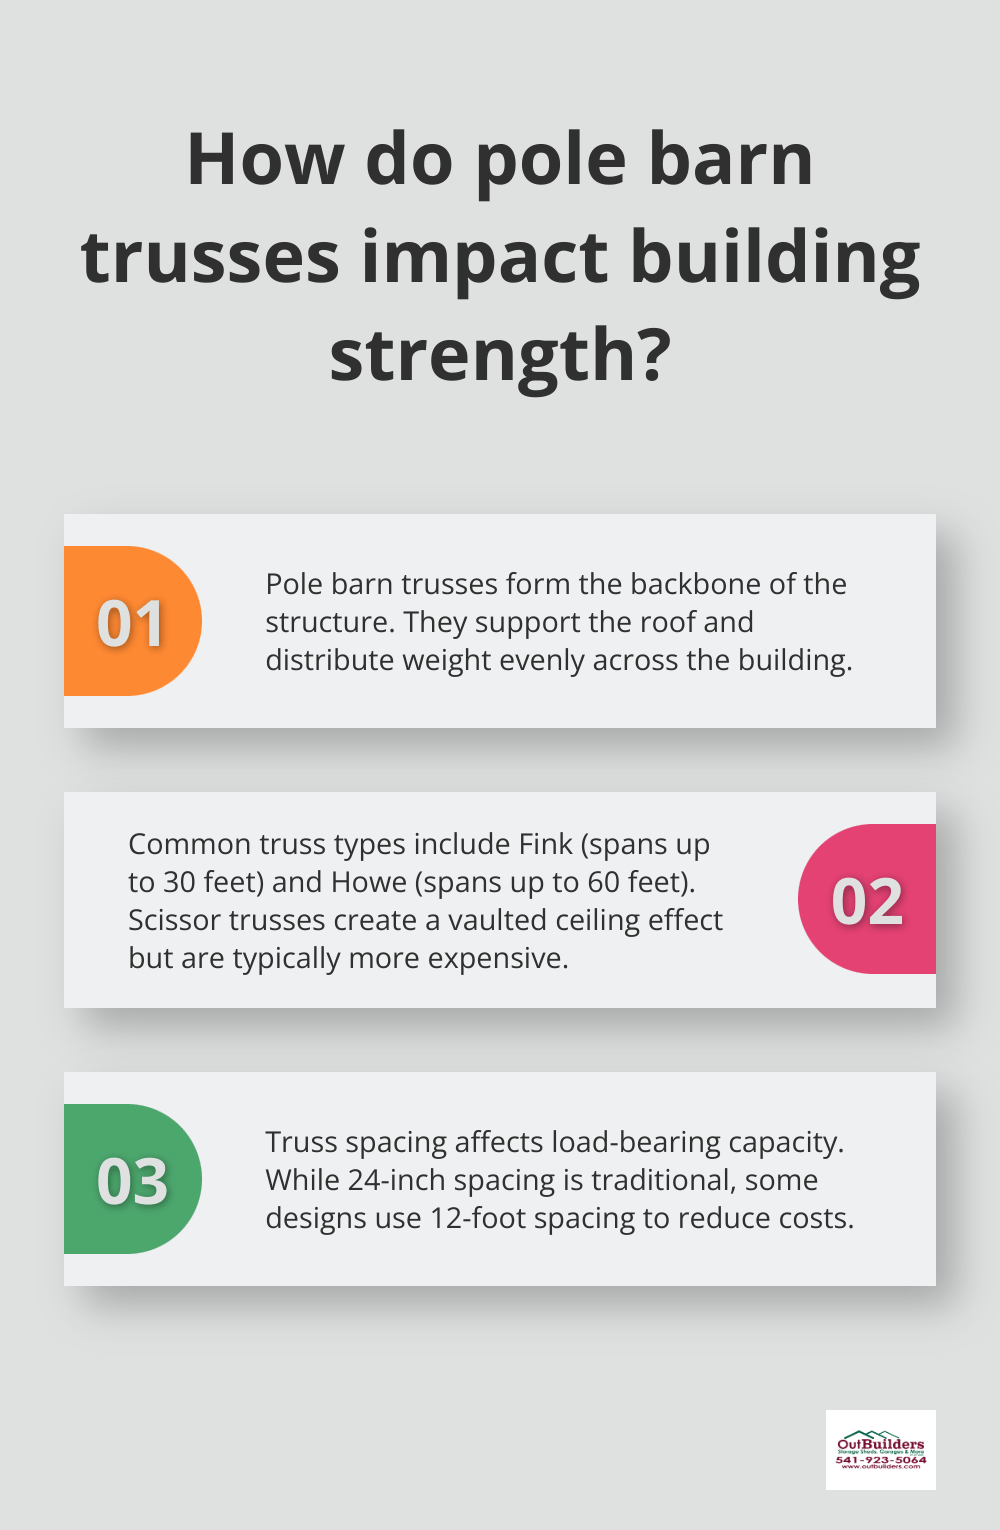
Pole barn trusses form the backbone of any sturdy pole barn structure. These engineered components support the roof and distribute weight evenly across the building. A typical pole barn truss consists of top and bottom chords connected by web members. The top chord forms the roof’s slope, while the bottom chord acts as a ceiling joist. Web members create triangular shapes within the truss, providing strength and stability.
Common Truss Types in Pole Barns
Several truss designs stand out in pole barn construction:
- Fink truss: Efficient for spans up to 30 feet.
- Howe truss: Handles spans up to 60 feet with vertical web members that resist compression forces.
- Scissor truss: Creates a vaulted ceiling effect, adding visual appeal and extra headroom (though typically more expensive and requiring additional engineering considerations).
The Critical Role of Trusses
Trusses do more than hold up the roof. They’re integral to the overall structural integrity of your pole barn. Properly designed trusses help resist wind uplift, distribute snow loads, and maintain the building’s shape over time.
In regions with heavy snow (like Central Oregon), robust trusses are essential. Research has shown that roof sheeting loss and roof truss failure due to overloading are important factors to consider in assessing the fragility of structures during extreme weather events.
Truss Spacing and Load Capacity
The spacing between trusses significantly impacts their load-bearing capacity. While traditional designs often called for 24-inch spacing, modern engineering allows for wider gaps. Some projects have successfully implemented designs with 12-foot spacing, reducing material costs without compromising strength.
However, wider spacing isn’t always better. Factors like roof material weight, expected snow loads, and local building codes all play a role in determining optimal truss spacing. Always consult with a structural engineer or experienced builder to ensure your truss design meets your specific needs.
The Impact of Material Choice
The materials used in truss construction greatly affect their performance. Wood remains the most common choice due to its cost-effectiveness and ease of customization. However, metal trusses are gaining ground, offering superior strength-to-weight ratios and resistance to pests and fire.
For wood trusses, the grade of lumber matters. Higher-grade lumber can significantly increase load capacity compared to standard grades. This can allow for wider truss spacing or longer spans, potentially offsetting the higher material cost.
As we move forward, it’s important to consider how these various factors come together in the design and planning phase of your pole barn project. Let’s explore the key considerations for creating a truss system that meets your specific needs and ensures the longevity of your structure.
How to Design Trusses for Your Pole Barn
Load Calculations: The Core of Truss Design
The first step in designing your trusses involves calculating the loads they must support. This includes dead loads (the weight of the roof and trusses) and live loads (snow, wind, and potential additional weight). In Central Oregon, we typically design for a minimum roof snow load of 25 psf (1.197 kN/m2) for engineered design, but this can vary based on location and local building codes.
Wind loads are another important factor. The National Frame Building Association recommends designing for wind speeds of at least 90 mph in most areas. If you’re in a particularly windy location, you might need to account for even higher speeds.
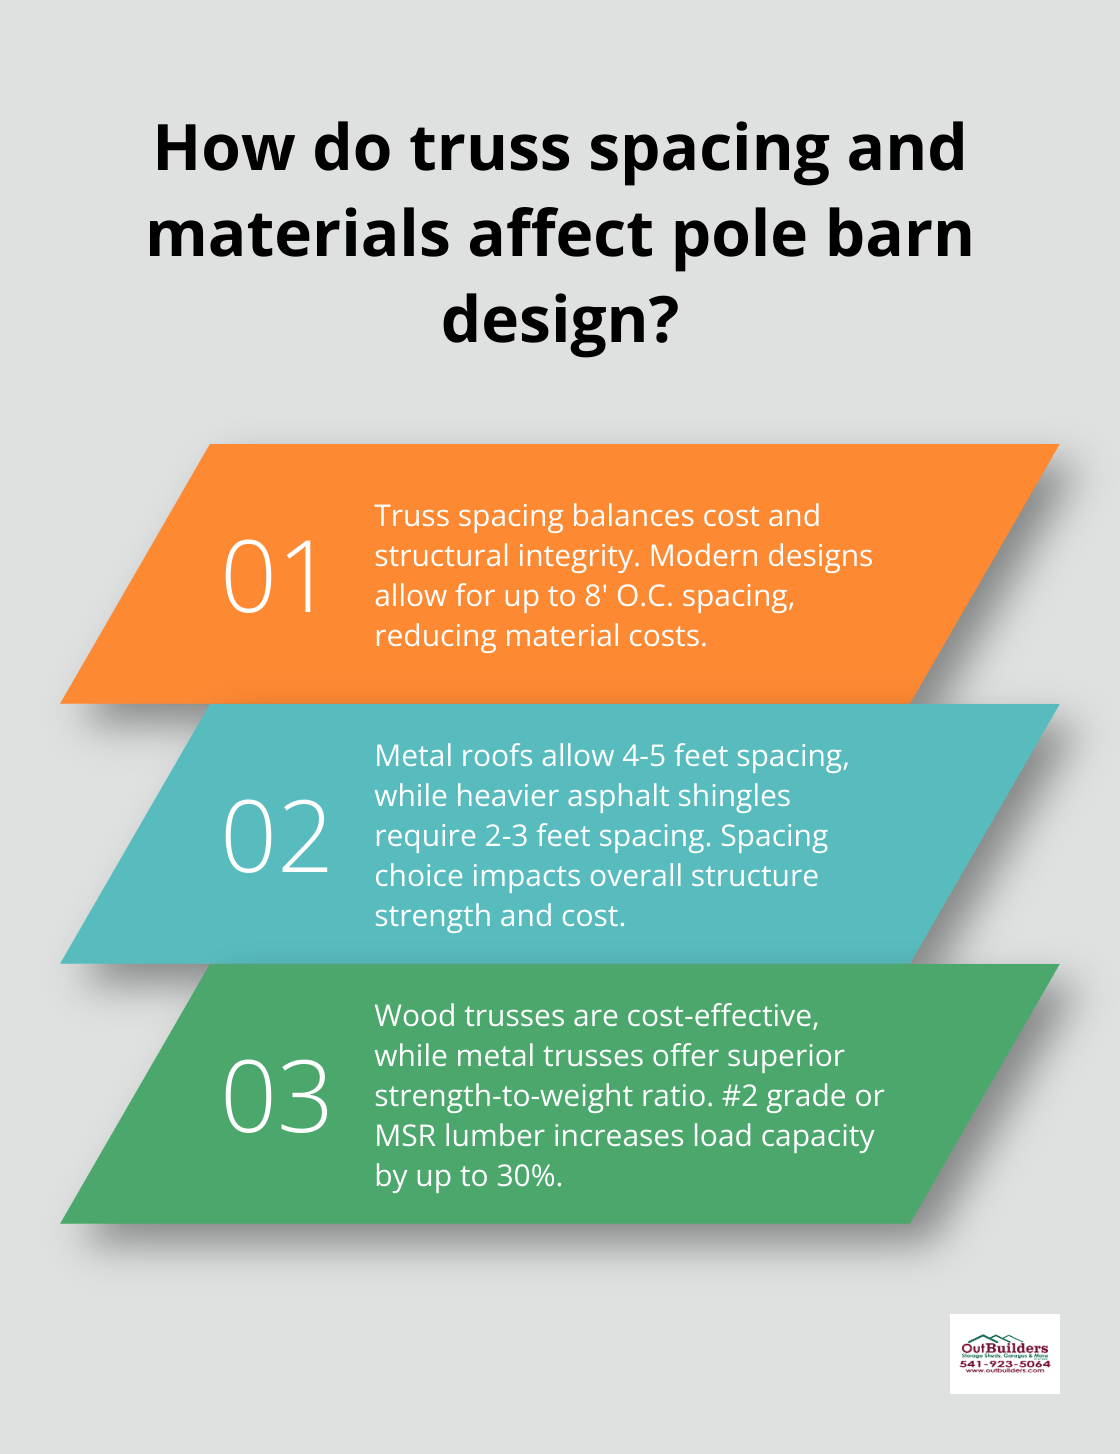
Truss Spacing: Striking the Right Balance
Truss spacing requires balancing cost and structural integrity. While traditional designs often called for 24-inch spacing, modern engineering allows for wider gaps. Some projects have successfully implemented designs with 8′ O.C. trusses, which can significantly reduce material costs without compromising strength.
However, wider spacing isn’t always better. Factors like roof material weight and expected loads play a significant role. For metal roofs (which are lighter), spacing of 4 to 5 feet often works well. For heavier materials like asphalt shingles, closer spacing of 2 to 3 feet is typically more appropriate.
Material Selection: Strength and Durability
The choice of materials for your trusses can significantly impact your pole barn’s longevity. Wood remains the most common choice due to its cost-effectiveness, but metal trusses are gaining popularity for their superior strength-to-weight ratio and resistance to pests and fire.
For wood trusses, we strongly recommend using at least #2 grade lumber. Even better, opt for machine stress-rated (MSR) lumber, which can increase load capacity by up to 30% compared to visually graded lumber. This allows for wider spacing or longer spans, potentially offsetting the higher material cost.
Metal plates are essential for joining truss members. High-quality galvanized steel plates (typically 20-gauge or thicker) ensure strong connections that resist corrosion over time.
Professional vs. DIY Truss Construction
While DIY truss construction can be tempting, it’s often more cost-effective and safer to work with a professional truss manufacturer. They have the engineering expertise and specialized equipment to create trusses that meet your specific needs and local building codes.
Professional manufacturers can also provide valuable insights into the latest truss designs and materials, ensuring you get the most efficient and effective solution for your pole barn.
Now that we’ve covered the key aspects of truss design, let’s move on to the practical steps of building these crucial structural elements. The next section will provide a detailed guide on how to construct sturdy trusses for your pole barn project.
How to Build Sturdy Trusses
Safety Precautions
Safety comes first when building trusses. Put on protective gear including safety glasses, work gloves, and steel-toed boots. Keep your work area well-lit and free from clutter. Follow manufacturer instructions when using power tools and maintain a clean workspace to prevent accidents.
Material Preparation
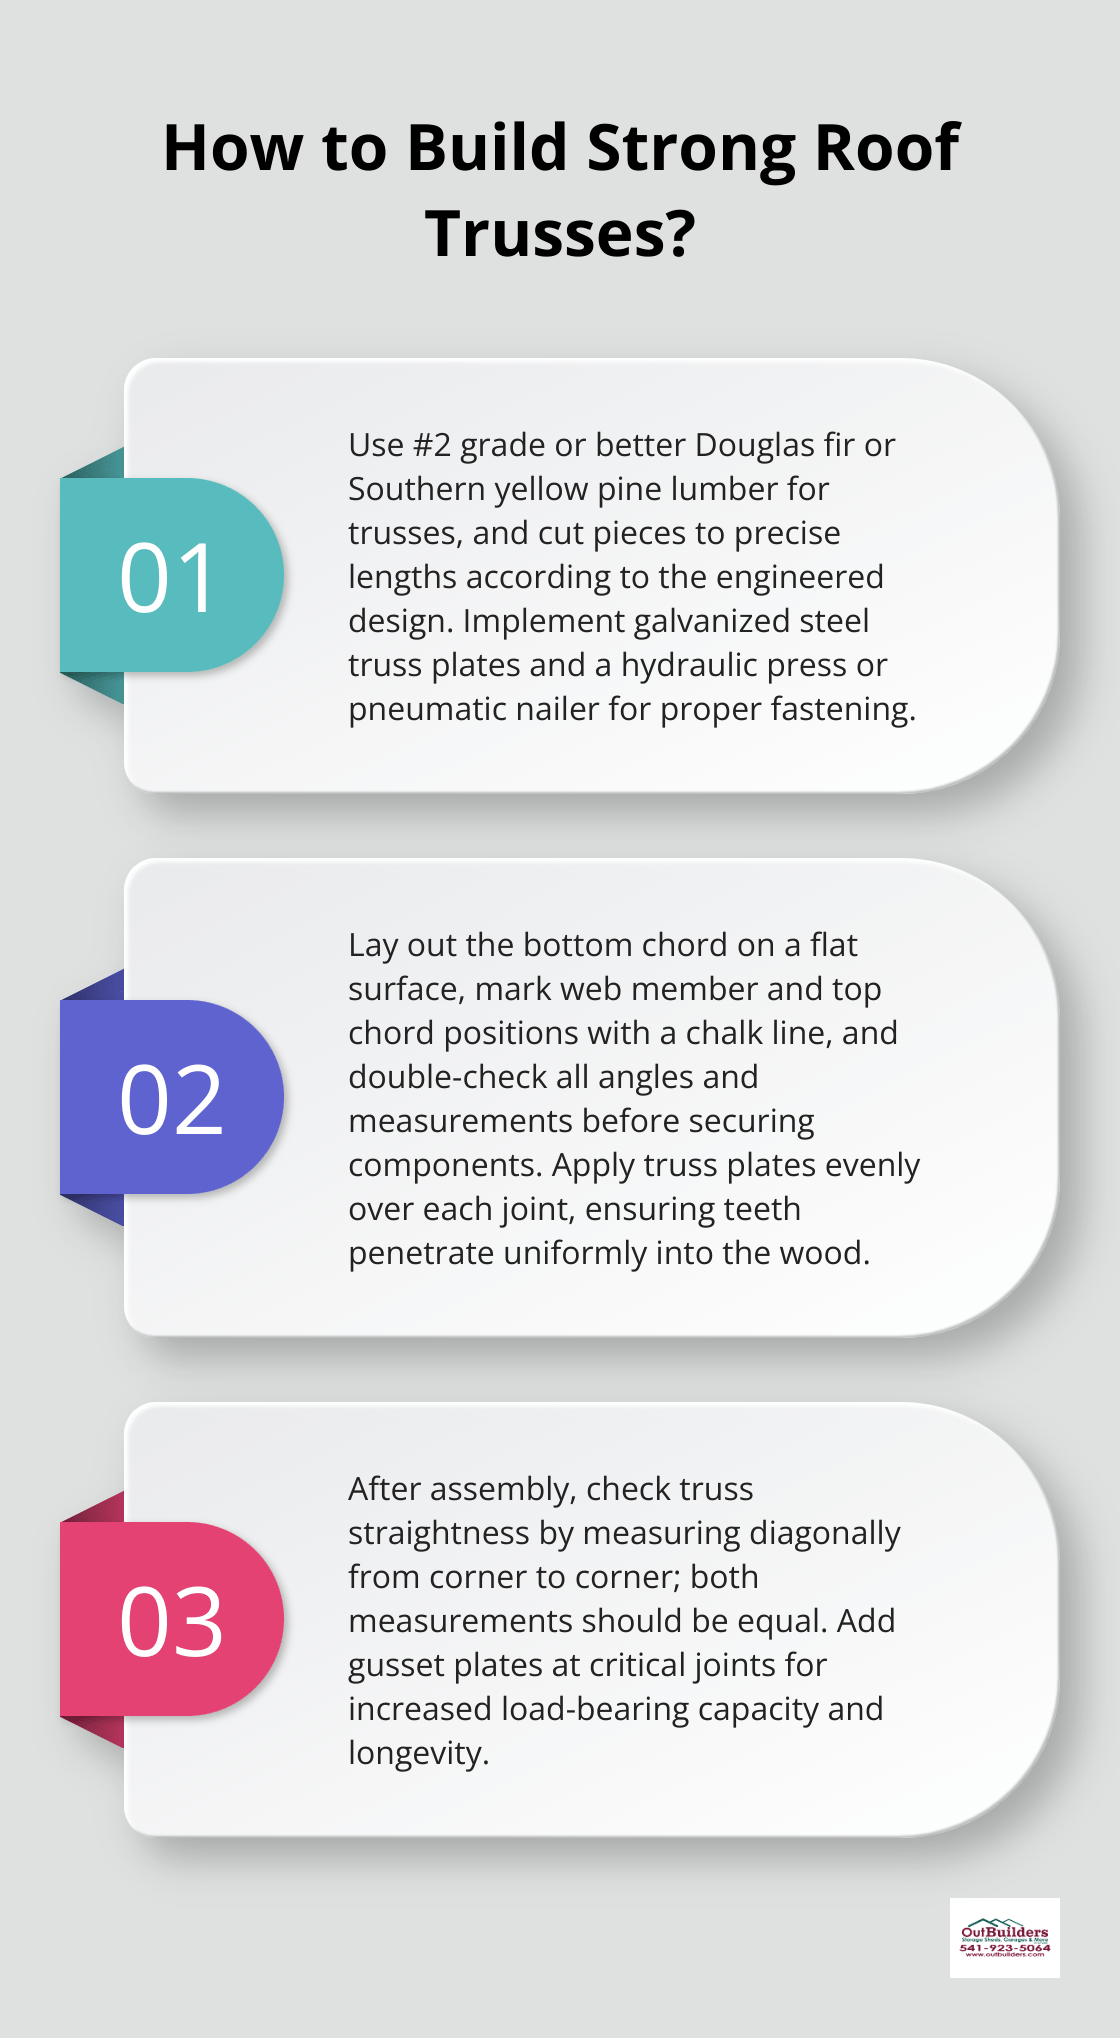
Start with high-quality lumber. #2 grade or better Douglas fir or Southern yellow pine works best for most pole barn trusses. These woods offer excellent strength-to-weight ratios and resist warping. Cut your lumber to the specified lengths according to your engineered truss design. Precision is key – even small measurement errors can compromise the truss’s integrity.
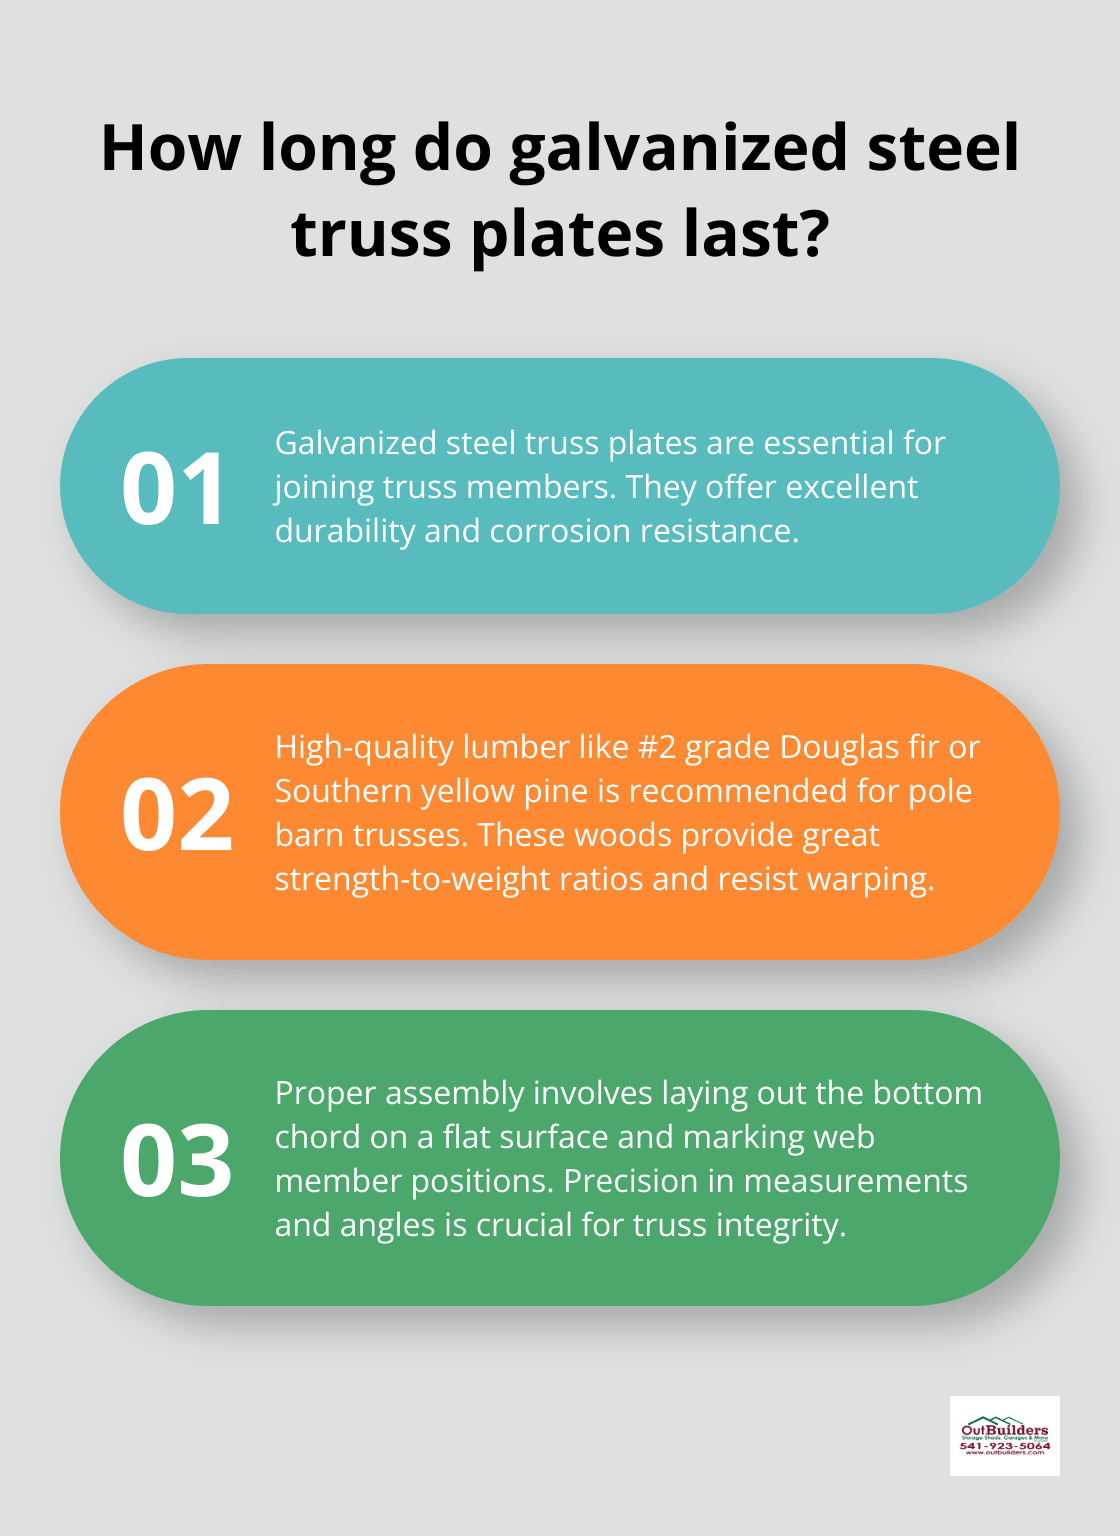
For joining truss members, use galvanized steel truss plates. You’ll also need a hydraulic press or a pneumatic nailer designed for truss plates to ensure proper fastening.
Assembly Process
Lay out your bottom chord on a flat surface. Use a chalk line to mark the positions of the web members and top chords. This step maintains symmetry and ensures your truss fits together correctly.
Position your web members and top chords according to your design. Double-check all angles and measurements before securing any components. Small discrepancies at this stage can lead to significant issues later.
When confident in your layout, attach the truss plates. Position the plates over each joint, covering both pieces of lumber adequately. Use your hydraulic press or pneumatic nailer to embed the plates firmly into the wood. Apply even pressure to ensure the teeth of the plate penetrate uniformly.
Stability and Alignment
After assembly, check your truss for straightness and stability. Place it on a flat surface and measure diagonally from corner to corner. Both measurements should be equal if your truss is square. If there’s a discrepancy, adjust before the plates set fully.
For added stability, add gusset plates at critical joints. These additional reinforcements can significantly increase the truss’s load-bearing capacity and longevity.
Professional Assistance
While DIY truss construction can be rewarding, it’s not without risks. If you’re unsure about any aspect of the process, consult with professionals. Proper truss construction makes a substantial difference in the longevity and stability of pole barns. (Companies like Outbuilders offer guidance or can take on the task to ensure your pole barn stands strong for years to come.)
Final Thoughts
Building trusses for pole barns requires careful planning and precise execution. The right truss type, spacing, and materials directly impact the strength and durability of your pole barn structure. Professional expertise often proves invaluable, especially for complex designs or in regions with challenging environmental conditions.
Well-constructed trusses offer numerous benefits for pole barns. They provide superior load-bearing capacity, enhance overall stability, and can contribute to energy efficiency. Sturdy trusses can also increase the lifespan of your pole barn, potentially saving money on future repairs and maintenance.
At Outbuilders, we specialize in crafting customized storage solutions, including pole barns. Our team uses top-grade materials and on-site construction techniques to deliver exceptional craftsmanship and personalized designs (tailored to each project’s unique needs). We take pride in our work and strive to create pole barns that stand strong for years to come.


Recent Comments