
Tiny homes on foundations are gaining popularity as a sustainable and affordable housing option. At Outbuilders, we’ve seen a surge in interest for these compact dwellings that offer stability and permanence.
Our guide to tiny home on foundation plans will walk you through the essential steps, from choosing the right location to framing techniques. Whether you’re a DIY enthusiast or working with professionals, this post will help you turn your tiny home dreams into reality.
Planning Your Tiny Home Foundation
Location Matters
The first step in building a tiny home on a foundation is to find the perfect spot. Look for areas with favorable zoning laws for small dwellings. Some cities and counties are more tiny-home friendly than others. Fresno, California allows tiny houses in backyards with a height limit of 16 feet, while Nantucket, Massachusetts has specific bylaws for tiny house communities.
Consider factors like access to utilities, proximity to amenities, and the overall feel of the neighborhood. Check for any restrictions on minimum house size in your chosen area. Some localities have minimum square footage requirements that could affect your tiny home plans.
Navigating the Permit Process
After you’ve found your ideal location, tackle permits and approvals. This process can be complex, but it’s absolutely necessary. Contact your local building department. They’ll guide you through the specific requirements for your area.
Typically, you’ll need a building permit, which involves submitting detailed plans of your tiny home. You might also need separate permits for electrical, plumbing, and mechanical systems. Some areas require additional approvals, such as a site plan review or environmental impact assessment.
Pro tip: Consider hiring a local architect or contractor familiar with tiny home regulations in your area. They can help navigate the permit process more efficiently.
Sizing Up Your Space
Now, let’s talk about determining the size and layout of your tiny home. The average tiny home is around 225 square feet, which is 10 times smaller than the average home. Yours could be larger or smaller depending on your needs and local regulations.
When planning your layout, think about how you’ll use the space. Multi-functional areas are a must in tiny homes. For example, a living room that converts into a bedroom, or a kitchen island that doubles as a workspace.
Don’t forget about storage. Every inch counts in a tiny home, so plan for built-in storage solutions from the start. This could include under-stair storage, loft spaces, or multi-purpose furniture with hidden compartments.

Choosing Your Foundation
Select the right foundation type for your tiny home. This decision depends on various factors including soil conditions, climate, and local building codes.
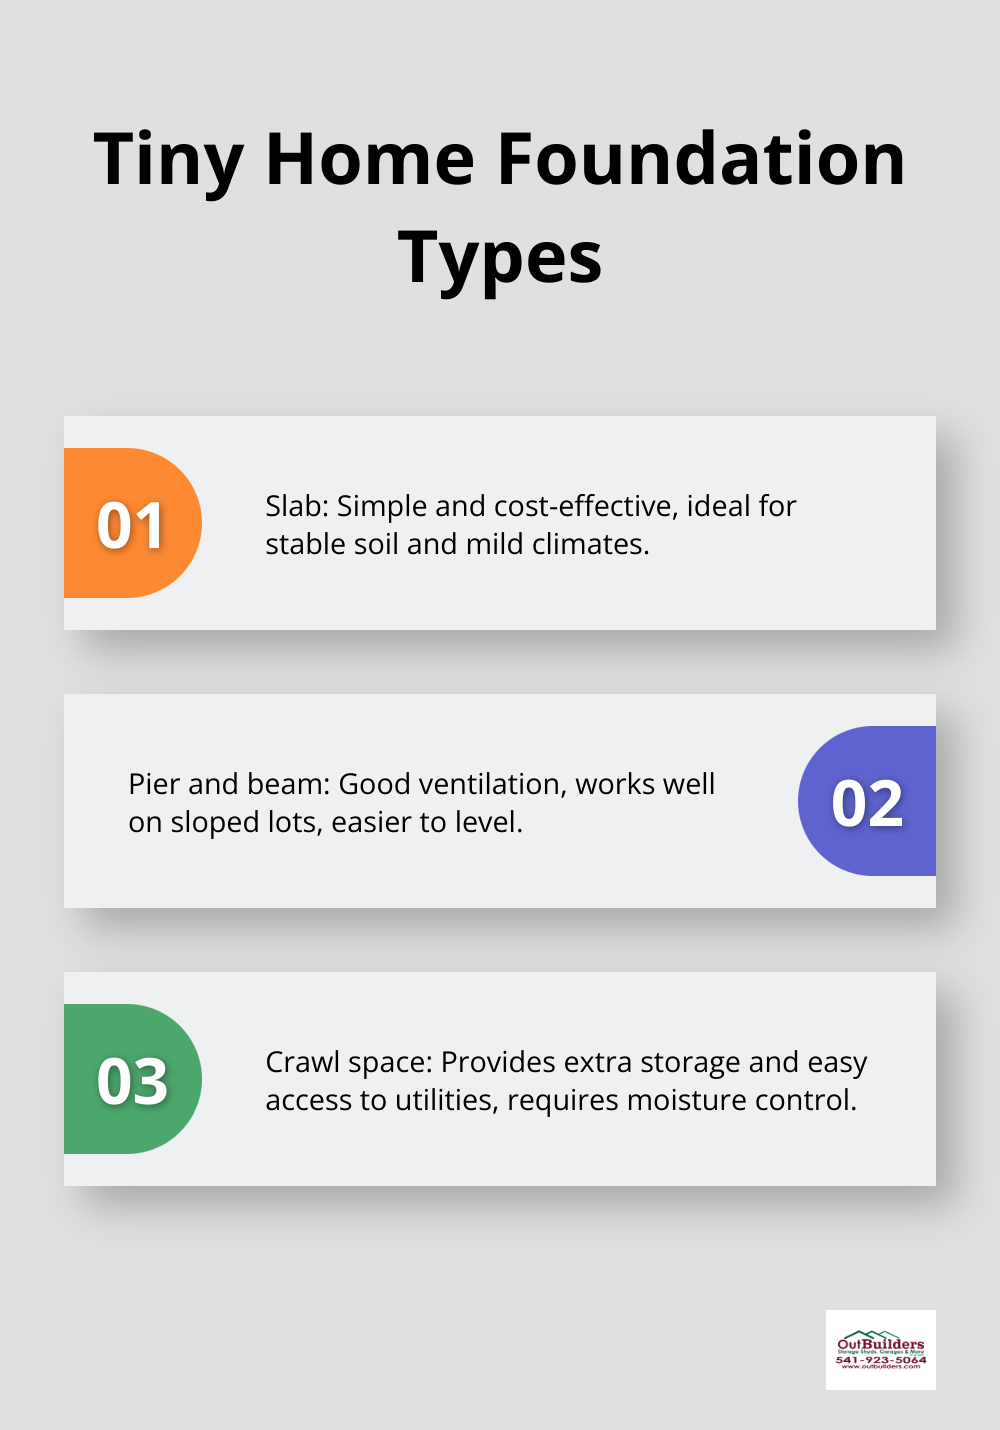
Slab foundations are popular for their simplicity and cost-effectiveness. They work well in areas with stable soil and mild climates. However, they’re not ideal for areas prone to flooding or extreme temperature changes.
Pier and beam foundations offer good ventilation and work well on sloped lots. They’re also easier to level if the ground shifts over time. However, they can be more expensive than slab foundations.
Crawl space foundations provide extra storage and easy access to utilities, but they require proper moisture control to prevent mold and mildew.
Your foundation choice will impact the overall cost and timeline of your project. Try consulting with a structural engineer to determine the best foundation type for your specific situation.
With these essential planning steps completed (location, permits, size, and foundation), you’re ready to move on to the next phase: site preparation and foundation installation. This next step will turn your carefully laid plans into the beginnings of your dream tiny home.
How to Prepare Your Site and Lay the Foundation
Clear and Level Your Construction Area
Start your tiny home project by clearing the construction area. Remove any debris, trees, or other obstructions that could impact the placement and stability of your tiny home. Use a laser level to create a flat surface (you can rent one from a local hardware store if needed). This step ensures proper drainage away from your future home.
Before you dig, contact your local utility companies or use a service like 811 to mark any buried lines. This precaution prevents costly and dangerous mistakes.
Excavate for Utilities and Foundation
After clearing the site, excavate for utilities and your foundation. The depth depends on your foundation type and local frost line. In areas with deep frost lines, you might need to dig up to 4 feet to prevent frost heave.
For a slab foundation, excavate about 8 inches below grade. This allows for 4 inches of gravel and a 4-inch concrete slab. For pier foundations, dig individual holes for each pier (typically 2 feet deep and 1 foot in diameter).
Always excavate slightly wider than your planned foundation. This extra space simplifies form setting and backfilling later.
Install Your Foundation
Now, install your foundation. For concrete slabs, install a vapor barrier over the excavated area to protect the expensive floor covering in your building. Install rigid foam insulation around the foundation’s perimeter for energy efficiency (especially important in colder climates). Set your forms and pour your concrete. A 4-inch thick slab works well for most tiny homes.
For pier foundations, pour concrete footings in your excavated holes. After curing, install your piers. You can use pressure-treated wood posts or concrete piers. Ensure they’re level and plumb – even small discrepancies can cause significant problems later.
Allow Proper Curing Time
Proper curing time is essential for concrete strength. Allow at least 7 days for your concrete to cure before continuing construction. During this time, keep the concrete moist to prevent cracking.
A well-prepared site and solid foundation form the literal base of your tiny home. Take your time with these steps to create a stable foundation that will support your tiny home for years.
With your foundation in place, you’re ready to move on to the next exciting phase: framing and construction techniques. This is where your tiny home will start to take shape and your vision will begin to materialize.
How to Frame Your Tiny Home
Select Your Materials
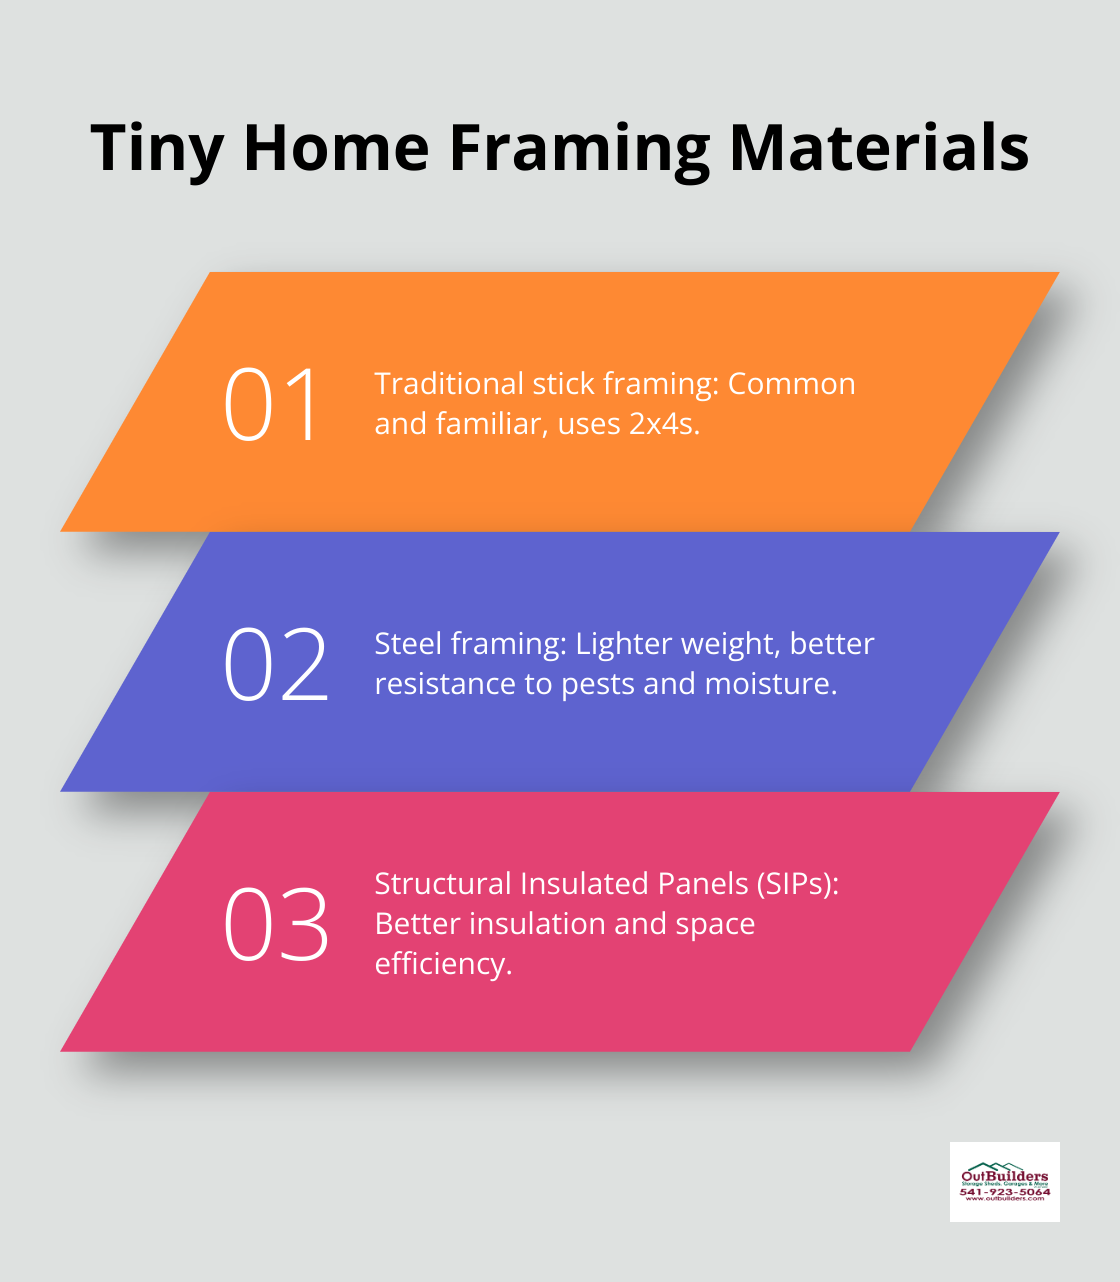
Start with the selection of framing materials. Traditional stick framing with 2x4s is common, but alternatives like steel framing or structural insulated panels (SIPs) offer better insulation and space efficiency. Steel framing provides lighter weight and increased resistance to pests and moisture compared to wood.
For sheathing, oriented strand board (OSB) offers a cost-effective option. However, plywood provides better moisture resistance (especially important in humid areas). The extra cost of plywood can prevent future issues.
Frame the Floor
Begin the floor system construction. (Skip this step for concrete slab foundations.) Use pressure-treated lumber for floor joists on pier foundations to prevent rot. Space joists 16 inches on center for maximum stability.
Insulate between the joists before laying the subfloor. Spray foam insulation works well, providing both insulation and a moisture barrier.
Raise the Walls
Consider advanced framing techniques for wall construction. This method uses less lumber, creates less waste, and allows for more insulation. It involves spacing studs 24 inches apart instead of the traditional 16 inches.
Pre-fabricate wall sections on the ground before raising them. This technique improves safety and efficiency, especially for solo or small team projects.
Construct the Roof
A simple gable roof often proves most practical for tiny homes. It’s easier to frame and provides ample headroom for a loft space. Use roof trusses if possible – they install faster and distribute the load more evenly than rafters.
For snowy areas, consider a high-pitched roof. This helps prevent ice from accumulating on your roof and causing it to collapse.
Install Windows and Doors
Complete window and door installation as soon as the framing is finished. This protects the interior from the elements as work continues. Choose energy-efficient models – in a tiny home, every bit of heat loss or gain becomes noticeable.
Pocket doors offer a space-saving alternative to traditional swing doors in tiny homes. They can save up to 10 square feet of floor space per door.
Apply Exterior Finishes
Choose siding carefully. While vinyl siding costs less and requires low maintenance, fiber cement siding offers better durability and fire resistance. Cedar shingles provide a natural look but require more upkeep.
Don’t compromise on house wrap quality. A high-quality product can significantly improve your home’s energy efficiency and moisture resistance.
Final Thoughts
Building a tiny home on a foundation requires careful planning and execution. Tiny home on foundation plans offer numerous benefits over mobile counterparts, including greater stability, design flexibility, and potential value appreciation. These homes provide easier access to utilities and better withstand harsh weather conditions than homes on wheels.
Energy efficiency and smart space utilization should take priority in your tiny home project. Invest in quality materials and proper insulation to ensure long-term comfort and savings. The construction process may require adaptability, so stay flexible and be prepared to modify your plans as needed.
For those in Central Oregon seeking additional storage solutions to complement their tiny home, Outbuilders offers customized options. Our expert team can help maximize your available space with high-quality, on-site construction of storage sheds and garages. Building a tiny home on a foundation can lead to a simpler, more sustainable lifestyle that meets all your needs.


Recent Comments