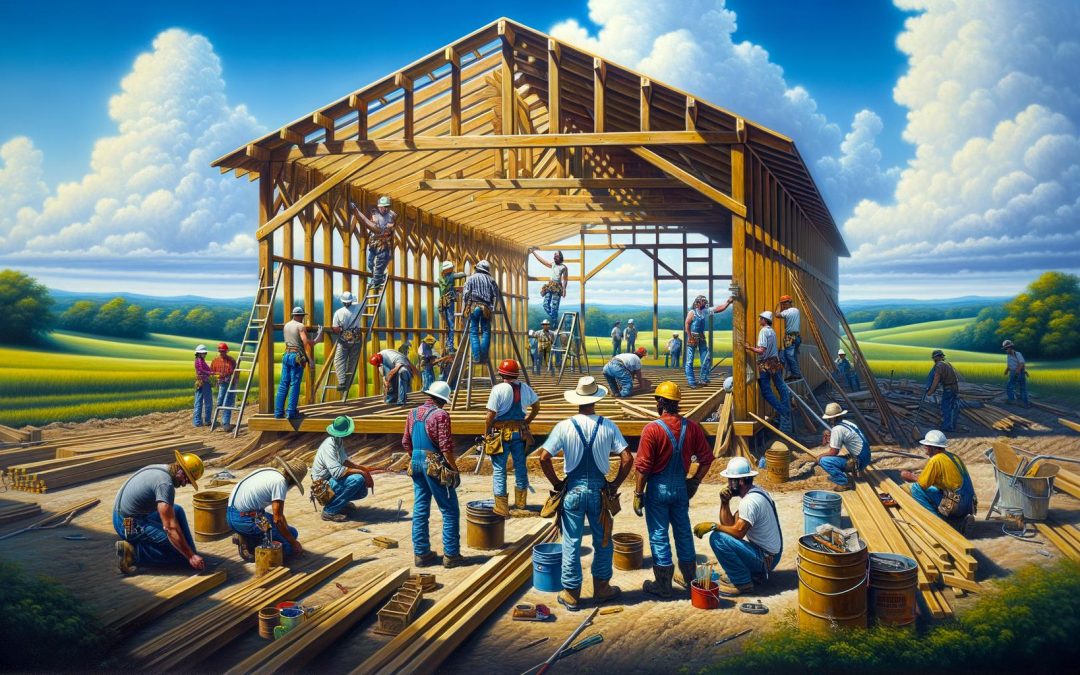
Pole barns and buildings have become increasingly popular for their versatility and cost-effectiveness. At Outbuilders, we’ve seen a growing demand for these structures across various industries and applications.
Our guide will walk you through the key aspects of designing durable pole barns, from site selection to customization options. We’ll share practical tips and industry insights to help you create a long-lasting, functional structure that meets your specific needs.
How to Design a Pole Barn That Lasts
Selecting the Ideal Location
The foundation of a durable pole barn starts with choosing the right spot. Soil composition and drainage patterns play a vital role in the longevity of your structure. Sandy or gravelly soils provide better pole embedment and bearing capacity. Before construction begins, conduct a soil test to determine its load-bearing capacity (this step can prevent costly foundation issues later).

Site preparation is equally important. Clear the area of vegetation and level the ground. A 4-6 inch gravel base will optimize drainage and stability. A well-prepared site sets the stage for a long-lasting pole barn.
Choosing Materials for Longevity
The durability of your pole barn depends heavily on material selection. For posts, treated solid wood or laminated posts are popular choices. However, Perma-Columns (precast concrete poles) offer superior rot resistance and can significantly extend your barn’s lifespan. Using 10,000 psi precast concrete, Perma-Columns are 3x stronger than standard concrete and are reinforced with 60,000 psi rebar.
For siding and roofing, 22-gauge ribbed metal steel stands out as the top choice. It provides excellent durability and weather resistance, being the thickest available gauge for metal roofing. When it comes to insulation, fiberglass is common, but reflective bubble insulation offers a higher R-value, enhancing energy efficiency.
Designing for Structural Strength
The structural design of your pole barn determines its ability to withstand environmental stresses. In areas with heavy snowfall, design roofs to support 10-15 pounds per cubic foot of accumulated snow. Local building codes provide essential guidelines for snow load requirements, which directly influence header sizing and overall structural integrity.
Proper bracing ensures stability. Depending on your barn’s height and design, you’ll need a combination of lateral, web, corner, and knee bracing. For taller structures, corner and knee braces are particularly important.
Trusses form the backbone of your pole barn’s roof. Choose from traditional, cathedral, or mono trusses based on your design preferences and local weather conditions. Ensure proper fitting and reinforcement, especially in high-wind areas.
Incorporating Weather-Resistant Features
To enhance your pole barn’s durability, consider adding weather-resistant features. Install gutters and downspouts to direct water away from the foundation. Use weather stripping around doors and windows to prevent drafts and moisture infiltration. Apply a high-quality sealant to joints and seams to further protect against water damage.
Planning for Future Needs
Design your pole barn with future expansion in mind. Leave space for potential additions or modifications. Consider oversizing doors and creating flexible interior spaces that can adapt to changing needs. This foresight can save time and money in the long run.
As we move forward, we’ll explore the essential elements of pole barn construction, building on these foundational design principles to create a structure that stands strong for years to come.
Building a Lasting Pole Barn
Laying a Solid Foundation
The foundation determines your pole barn’s stability. We recommend holes for poles at a depth that varies by region. In frigid northern climates, the frost depth can be 60 inches or more, while warmer southern states may have less frost depth. This depth protects against frost heave and provides essential stability. A concrete footer at the base of each hole adds durability.

For pole setting, use a mix of gravel and concrete. Start with 6 inches of gravel at the bottom of each hole for drainage. Set the pole and pour concrete around it, leaving the top 6 inches for gravel. This method allows for both stability and proper water drainage.
Framing for Maximum Strength
The framing determines overall structural integrity. Use 6×6 treated posts for the main support structure, spaced 8 to 12 feet apart (depending on the building’s size and load requirements). Horizontal girts, usually 2×4 or 2×6 lumber, connect these posts and provide support for the siding.
For roof framing, engineered trusses are the best choice. They handle specific load requirements and span distances efficiently. Space trusses 24 inches on center for optimal support. Use hurricane ties to secure trusses to the top plate, which enhances wind resistance.
Weather-Resistant Roofing and Siding
Your pole barn’s exterior is its first defense against the elements. For roofing, 29-gauge corrugated metal panels work well. They’re lightweight, durable, and excellent at shedding snow and rain. Always install a layer of synthetic underlayment beneath the metal roofing for added protection against leaks.
For siding, 29-gauge metal panels are also a top choice. They resist rust, require minimal maintenance, and can last for decades. When installing, overlap panels by at least one full rib and use rubber washered screws to prevent water infiltration.
Proper Ventilation
Proper ventilation reduces moisture buildup and extends the life of your building materials. Install ridge vents along the roof peak and soffit vents under the eaves. This creates airflow that keeps your pole barn dry and comfortable.
Customization Options
To maximize functionality and comfort, consider various customization options. Try adding insulation for year-round use, installing windows for natural light, or incorporating a loft for extra storage space. These additions can transform your pole barn into a versatile structure that meets your specific needs.
As we move forward, we’ll explore how to optimize your pole barn’s interior layout and incorporate essential systems to enhance its functionality.
How to Customize Your Pole Barn for Maximum Functionality
Insulation and Climate Control
Proper insulation transforms your pole barn into a year-round comfortable space. Spray foam insulation requires more work for installation than fiberglass batt, making it more costly. For the roof, radiant barrier insulation reflects up to 97% of radiant heat, maintaining cooler summers and warmer winters.

Climate control extends beyond insulation. A mini-split HVAC system offers efficient heating and cooling. These systems use up to 30% less energy than traditional HVAC units and allow zone-specific temperature control.
Lighting and Electrical Planning
Effective lighting enhances your pole barn’s usability. LED lighting stands out for energy efficiency and longevity. LEDs are extremely energy efficient and have a much longer lifespan compared to incandescent bulbs. Try a mix of task and ambient lighting. For workshops, install 4-foot LED shop lights every 50-60 square feet.
Electrical planning should account for current and future needs. A 200-amp service panel accommodates power tools, welding equipment, or living space amenities. Place outlets every 6-8 feet along walls at a 48-inch height for convenience.
Optimizing Interior Layout
Your pole barn’s interior layout should align with its purpose. For equipment storage, create clear pathways at least 14 feet wide to maneuver large machinery easily. Workshops benefit from a U-shaped layout, with workbenches along two walls and storage along the third.
Utilize vertical space with wall-mounted storage systems. Slat wall panels support up to 75 pounds per square foot, offering flexible storage options. For larger items, a loft covering 25-30% of your barn’s floor space increases storage capacity without compromising ground-level functionality.
Flooring Solutions
Choose flooring that suits your barn’s purpose. Concrete remains a popular choice for its durability and low maintenance (a 4-inch thick slab typically suffices for most applications). For workshops or living spaces, consider epoxy coatings. These coatings resist chemicals, oil, and wear while providing an attractive finish.
Ventilation Systems
Proper ventilation prevents moisture buildup and extends the life of building materials. Install ridge vents along the roof peak and soffit vents under the eaves. This combination creates natural airflow, keeping your pole barn dry and comfortable. For barns housing animals or used as workshops, mechanical ventilation systems might prove necessary to maintain air quality.
Final Thoughts
Careful planning and attention to detail are essential for designing and constructing durable pole barns and buildings. Every step, from location selection to customization, plays a vital role in creating a long-lasting structure. Well-designed pole barns offer versatile spaces that adapt to changing needs, lower maintenance costs, and potential energy savings.

Professional expertise often proves invaluable in pole barn construction. Experienced builders bring knowledge of local codes, structural engineering principles, and best practices. They navigate potential challenges and ensure your pole barn meets all safety and quality standards.
Outbuilders specializes in creating high-quality, customized pole barns and buildings. Our team uses top-grade materials and on-site construction techniques to deliver exceptional results. We offer a five-year limited warranty and commit to customer satisfaction (terms and conditions apply).


Recent Comments